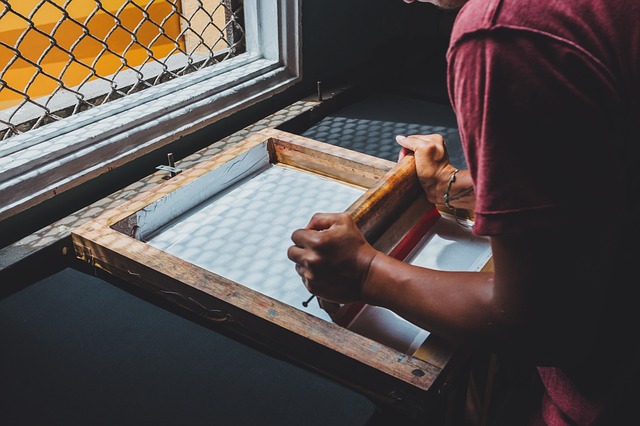
How to Screen Print
How to Screen Print

How to screen print t shirts like a professional
Screen printing is not as difficult as it seems. You will need a good amount of space and some equipment to get started. There are different processes that you can use when screen printing with spot color printing being the easiest. If you don't know the history of screen printing you can find it here. Today screen printing is used on every from custom t-shirts to boxes. It is amazing that being one of the oldest methods of printing it is still relevant today.
How to Screen Print
- Prepare your artwork
- Print The Film
- Burn the Screen
- Wash off the emulsion
- Dry the Screen
- Line the Screen up on the press
- Do a test Print
- Start with The lightest Colors first
- Remove the shirts and put them on the conveyor
- Fold and package the shirts
- You're Done
Prepare your artwork
To Prepare your artwork you are going to need to use graphic design editing software such as adobe illustrator or coral Draw. You may also want to use a program InDesign to print your artwork. First thing first you will need to make sure that your artwork is the correct size that you are going to print it. After the dimensions are correct you will want to select all the colors and change the swatch to spot colors. You can do this by double-clicking on the swatch. Make sure you save your file as a PDF file. Double check the spelling of your designs and make sure that everything is correct with your films.
Print The Film
After you print the film double check again and cut the extra film off. Grab the correct screen for the job. Depending on the color ink will depend on what mesh screen count you are going to use. Place the film on the non-squeegee side and measure and line it up. Put some invisible tape on the screen to make sure it doesn't go anywhere
Burn the Screen
Put the screen in the exposure unit squeegee side up and put the vacuum on the inside of the screen. Burn the screen for the right amount of time before washing the screen. Make sure that you wash all of the emulsion out. After washing you have washed the screen out properly put the screen in a screen dryer or air dry in front of a fan for 15 minutes.
Test Print
Line up your screen and make sure that your registration marks are all lined up. Go ahead and do a test print. If everything looks good its time to print
Cure the Ink.
You can either cure the ink using a conveyor dryer or by using the flash unit. Make sure that you use the right temperature and send it through the conveyor for the right amount of time.
Clean the Screens
After Printing your shirts you will want to clean your screens. Most companies will usually hold on to the screens at least a couple days just in case the customer wants to come back and get a few more shirts. After a week or so goes by unless this is a normal order that always comes it might be time to clean and reuse that screen. You can reuse the screen by spraying the screen with some type of ink and emulsion remover. Use the washout booth and spray it down until the screen looks nice and clean.
These are the steps that are takin when screen printing a shirt. This is one of the reasons why most screen printers will not screen print under 12 t-shirts. It's because the initial time it takes to set up a screen can sometimes take around 45 minutes to 1 hr each screen.
If you have any questions or comments please feel free to let us know below.