|
Getting your Trinity Audio player ready...
|
T-shirts are among the few clothes where you can express your views, have some fun wearing, and show your individuality.
The good news is:
You don’t have to buy crazy expensive machines or any highly sophisticated DIY printing kits for screen printing. Plus, you don’t even need any technical skills for DIY (Do it yourself).
Instead, you can get it done with minimal time and effort.
The only thing you need for the T shirt printing at home is fabric transfer paper.
How To Put Any Picture On A T shirt
Printing on plain t shirts is one of the cheapest, unique, and most accessible DIY projects you should try.
All it takes is some imagination and a little know-how.
Before you get cracking on DIY t shirt printing, you got to have the following stuff beforehand:
- Fabric t-shirt transfer paper
- Computer or a phone to find a picture
- Blank t-shirt
- Iron
- Printer
Suggested Read: 5 Best T Shirt Printing Creative Ideas
A lot of brands offer fabric transfer papers ranging from low to high prices. The only major feature that makes them different is their thickness.
At this point, we have 2 important tips for you:
- If you settle for a cheaper fabric transfer paper, keep your garments away from harsh washing detergents while washing. Always go for a delicate wash for the cheaper paper.
- Never use a clothes dryer to wash the T-shirt because the heat of the clothes dryer will ruin and break up the print.
Ready for the step-by-step tutorial?
DIY T shirt Printing Step-By-Step Tutorial
Step 1: Choose A Picture
Look for a picture you want to have on your t shirt, or draw one with an art program.
One of the famous art programs is Canva. You get lots of excellent features absolutely free.
Otherwise:
If the picture doesn’t need any editing, go straight to printing that picture from your PC or phone.
When it comes to printing quotes, words or logos, etc., it’s a totally different game. For this, you have to mirror the image and flip it horizontally.
Step 2: Buy Transfer Paper
First, you need to buy the A3 or A4 size of paper in small packets. Get the style of paper that suits light or dark colour t shirts.
Before printing, make sure you read the transfer paper instructions to check if you’re using the right type of printer.
The reason is most papers show the best results with Inkjet printers.
After getting everything done, print the whole page.
Later on, trim around the paper edges by leaving a 3 mm white edge on each side to get the picture correctly.
Suggested Read: Things You Should Know Before You Buy Heat Transfer Paper
Step 3: Place Transfer Paper on T shirt
Place the transfer paper on the t shirt wherever you want.
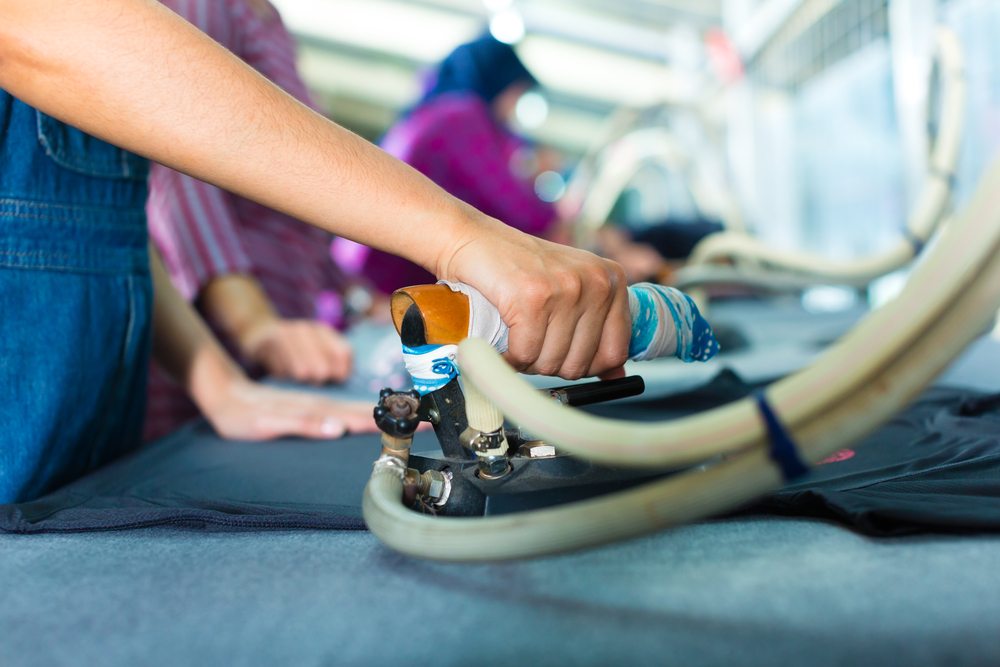
Next, use a hot iron over the paper until the design gets perfectly down from all the edges.
The iron temperature should be according to the prescribed temperature written on the transfer paper instructions.
Also Read: T Shirt Printing & Transfer Paper Types Update 2021
In the end, peel the upper layer off carefully in one go, leaving your design printed on the t shirt.
Note:
You should use masking tape to get a better idea of where to put the paper on. You can take off the tape once you place the paper at the right place and before ironing.
Final Word
This comprehensive guide to DIY T shirt printing will help you surprise everyone around you with amazing pictures printed on your t-shirts at home.
Last but not the least, you’ll be able to gift the t-shirts to your friends and family to deepen relationships with one another even more.
Image Source: Shutterstock
Also Read:
- T Shirt Printing DTG Vs Screen Printing
- T Shirt Printing Colour Combinations 2021
- Tee Shirt Design Step by Step Guide [2021]

